
The best TikTok and Instagram Reels ideas for plumbers are short videos that show a quick fix, explain a strange pipe noise, or reveal what’s hiding behind a wall. You’ll get the most views from 15 to 30-second clips filmed right on a job site with your phone. This guide covers how to film them, which topics bring in local customers, and the settings you need so the video actually reaches people nearby. For more insights, check out Social Media Marketing Strategies For The Plumbing Business.
TikTok and Instagram reel ideas that actually work
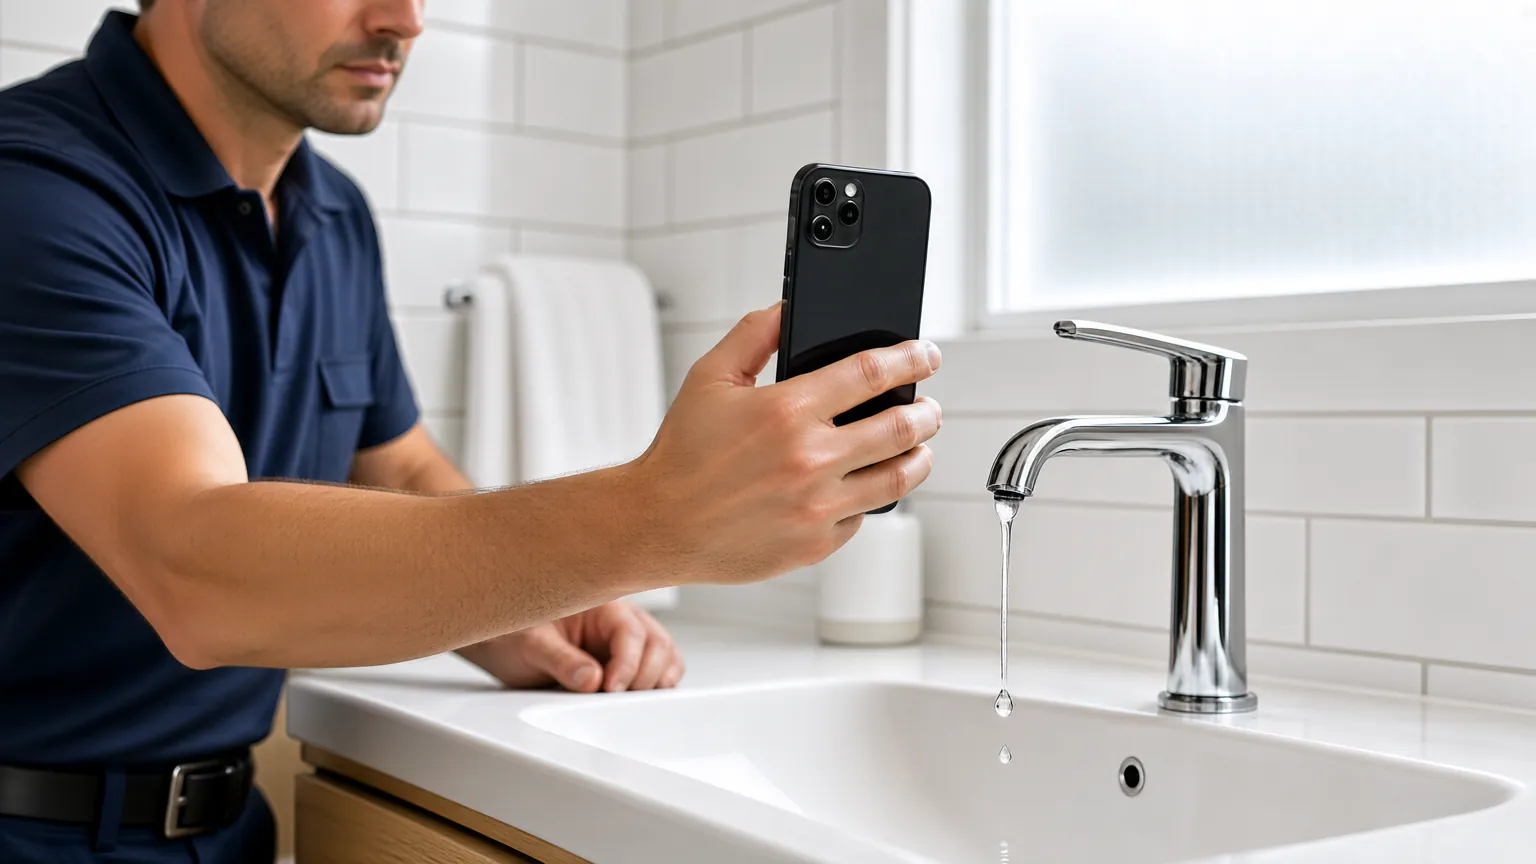
A plumbing video on social media is a short clip that shows real work, explains a common home problem, or proves you know your trade. It isn’t an ad with a logo bouncing across the screen. People watch these clips to figure out why their sink is slow, what that knocking sound means, or who they’d trust inside their house.
These videos are built for homeowners, renters, and property managers. They’re not meant to teach other tradespeople how to solder copper. The goal is to build enough trust that someone saves your number before their next leak. For more insights, check out How Much Money to Start a Plumbing Business.
The biggest misconception is that you need a script or good lighting. You don’t. A shaky 20-second clip of water spraying from a broken valve gets more attention than a polished studio intro. The camera just needs to point at the actual problem. For more insights, check out How Can I Start a Commercial Plumbing Business?.
Plumbers who film themselves talking instead of filming the pipe lose viewers in the first three seconds. Start the clip with the wrench already on the fitting. Add your explanation as a voiceover after you upload it.
The algorithm doesn’t push your video because it’s pretty. It pushes it when viewers stop scrolling, watch until the end, or share it with a friend who has a leaking toilet. Watch time is one of the most important metrics here. If someone stays to see how you clear the clog, the platform shows it to more people in your city.
Local reach depends heavily on tagging your location and using local keywords in your caption and text overlays. Say your city name while pointing at a familiar neighborhood water heater model. The platform uses these location signals to find nearby searches.
You won’t go viral overnight. But one clear video answering a simple question can sit on your profile and bring calls for months.
How to film plumbing reels on the job
You don’t need extra hours in your day to make these clips. The footage comes from the jobs you’re already doing. Here is the exact order to follow so you don’t waste time between service calls.
- Pick the problem before you open your tools. Don’t film everything. Choose one thing: a clogged drain, a weird noise, or a rusted fitting. If the homeowner is uncomfortable with a camera, put the phone away.
- Wipe your phone lens with your shirt. Grease and dust from your hands will blur the whole video. This takes two seconds and changes the quality completely.
- Film the “before” state for 3 to 5 seconds. Point the camera at the leak, the standing water, or the broken part. Don’t talk yet. Just let people see the mess.
- Record the fix in 2 or 3 short bursts. Film 5 to 10 seconds of your hands working. Stop recording. Move to a better angle. Record again. Long, unbroken clips are hard to edit later.
- Show the “after” result clearly. Run the water, flush the toilet, or turn the valve. Let the viewer hear that the dripping stopped. This proof is why they’ll call you.
- Speak your tip over the video later. Don’t try to explain things while holding a wrench in a loud basement. Record a 15-second voice note in your truck after the job. Lay it over the clips.
- Add text on the screen for the main point. Type out the core lesson, like “Don’t use chemical drain cleaners.” Keep it under six words. Put it near the top so buttons don’t cover it.
- Post within 24 hours. Old footage feels stale. Upload it while the job is fresh in your mind so you can reply to early comments.
The single judgment call that separates a useful video from a wasted one is knowing when to stop filming. If the repair involves a gas line, a main sewer connection, or anything requiring a specialized license beyond yours, keep the camera off. Show the symptom, but advise homeowners to leave the complex fix to the professionals trained for it. Trying to walk a homeowner through a gas repair on video risks injury and violates local codes.
Plumbing reel settings and numbers
Every platform has different rules for length and size. Getting these wrong means your video gets cropped awkwardly or cut off mid-sentence. Use this table as your checklist before you hit post. These numbers assume you’re using a standard smartphone held upright.
| Situation | What to use | How long | What to watch for |
|---|---|---|---|
| Quick visual fix (tightening a valve) | Vertical 9:16 ratio | 7 to 15 seconds | Don’t let the auto-loop feel jarring; make the end match the start. |
| Explaining a noise or smell | Vertical 9:16 ratio | 20 to 30 seconds | Speak slowly; captions must stay on screen long enough to read. |
| Step-by-step DIY advice | Vertical 9:16 ratio | 45 to 60 seconds | Break it into 3 distinct steps; viewers drop off after 40 seconds. |
| Behind-the-scenes job tour | Vertical 9:16 ratio | 15 to 30 seconds | Blur any visible addresses or customer names on mail and boxes. |
| Replying to a follower’s comment | Vertical 9:16 ratio | 15 to 25 seconds | Pin the original comment so new viewers have context immediately. |
| Showing expensive damage | Vertical 9:16 ratio | 10 to 15 seconds | Avoid showing faces without written permission from the homeowner. |
If you shoot horizontally by accident, don’t just upload it. Crop it in your phone’s editor first. A horizontal video pushed into a vertical frame leaves thick black bars, and people scroll past those instantly. For larger commercial jobs where you might want to show wide pipe runs, step back further rather than turning the phone sideways.
Why some plumbing videos get ignored
The difference between a video that brings in calls and one that gets zero views usually comes down to the first three seconds. Experienced tradespeople don’t start their videos with a greeting. They start with the problem.
The hook and the framing
If you open by saying “Hey guys, today I’m going to show you…”, you’ve already lost them. Start with the water spraying, the terrible sound the pipes are making, or the pile of rust you just pulled out of a wall. The action has to be happening the moment the video starts.
Framing matters just as much. Hold the phone close enough that people can see the specific fitting you’re talking about. A wide shot of a dark basement tells the viewer nothing. Point the lens directly at the corroded joint or the blocked trap. If the space is too tight for your phone to focus, back up one inch—no more—and tap the screen to lock the focus on the pipe.
The details that build trust
Leave the messy background in the shot. Don’t clean up the work area before you record. Viewers trust a video that looks like a real Tuesday morning, not a staged set. But there’s a trade-off here: while a dirty floor is fine, leaving personal customer items in the frame costs you their privacy and your reputation.
Check your audio before you leave the driveway. Basements echo, and running water drowns out voices. If you can’t hear yourself clearly on playback, don’t upload it with live sound. Mute the original clip and record your voiceover in the quiet cab of your van. That one adjustment saves a video that would otherwise be useless.
Plumbing video problems and fixes
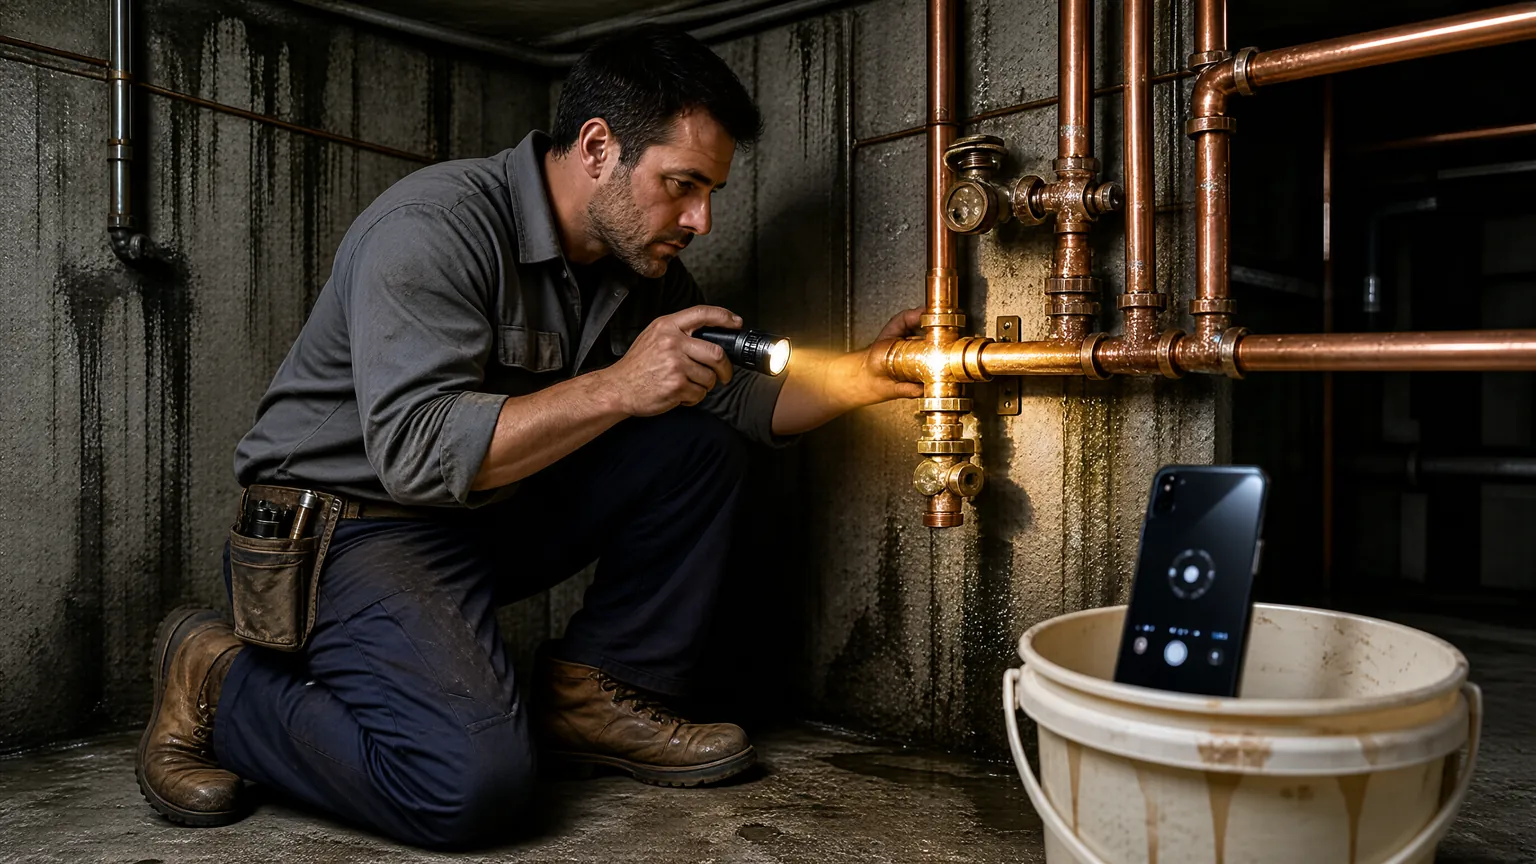
Things go wrong when you film in crawl spaces and wet basements. Here is what usually happens and how to handle it fast so you don’t lose the footage.
| What you notice | What it usually means | What to do first |
|---|---|---|
| Video looks dark and grainy | Your phone’s sensor can’t handle the low light in a basement or cabinet. | Turn on your phone’s flashlight or hold a small work light just outside the frame. |
| Audio is muffled or echoes | You’re too far from the phone, or the room is bare concrete. | Mute the clip entirely and record a voiceover later in your truck. |
| Text gets covered by buttons | You placed captions too low or too far to the right edge. | Move all text to the center-middle zone, keeping it away from the bottom third. |
| Views stop after 2 seconds | The opening shot didn’t show the actual problem fast enough. | Trim the first few seconds so the video starts exactly when the action does. |
| Phone lens fogs up | You moved from a cold truck into a warm, humid bathroom. | Wipe the glass with a dry microfiber cloth and wait 60 seconds before recording. |
If the fog keeps coming back, keep a small silica gel packet in your phone case. Don’t blow on the lens to clear it; your breath adds more moisture to the glass.
Rules for filming on job sites
You can’t just film anywhere you work. Privacy laws and safety codes apply the moment you pull out a camera on someone else’s property. Always ask the homeowner before you record anything inside their house. If they say no, put the phone away. There’s no workaround for that.
Get that permission in writing if the job involves visible damage or expensive finishes. A text message confirming they agreed to be filmed protects you later. Verbal consent disappears the moment a dispute starts.
Never show street signs, house numbers, or family photos in the background. It takes five seconds to pan away from a window, but missing it exposes your customer’s address to thousands of strangers. If you accidentally capture a face or a name on a piece of mail, crop the video tightly or blur that spot before posting.
Check your framing before you hit record every single time. Walk three steps back and look at what sits behind your hands. A license plate visible through an open garage door is just as bad as a house number.
Safety regulations matter on camera too. The Occupational Safety and Health Administration requires proper protective equipment during hazardous work. If you post a video where you’re handling chemicals or cutting pipes without gloves and eye protection, you’re advertising bad habits. Viewers notice, and inspectors can too. Wear your gear in every clip.
Don’t give instructions that require a plumbing license to perform safely. Showing someone how to tighten a supply line under a sink is fine. Telling them how to reroute a gas line or modify a main stack is dangerous.
If the task requires a licensed professional, say exactly that in the video. Tell them to call a local plumber instead of trying it themselves. Crossing that line can cost you your standing or lead to liability if a homeowner gets hurt following your clip.
Keeping your plumbing content active
Posting one video isn’t enough. You need a simple way to keep your profile alive without spending hours on your phone every night. Batch your uploads consistently. If you film three clips on a Tuesday, save two in drafts. Post one Wednesday and one Friday. This keeps your account active during weeks full of long emergency jobs.
Save every finished video to your phone’s main gallery immediately. Never rely solely on in-app storage for your content library. Platforms frequently delete drafts during unexpected updates or glitches. Losing a month of hard-won footage hurts deeply. Organize saved files into specific folders by topic like leaks, noises, or seasonal tips. When winter hits suddenly, you’ll locate frozen pipe videos instantly without frantic searching through thousands of random camera roll photos.
Watch your older posts once each month systematically. Identify specifically which videos got shared most often. If a water heater smell video performed well, film another about heater noises next. Don’t guess what content works for your business. Let actual engagement numbers dictate what your local audience truly cares about right now.
Reply to every single comment within the first hour after posting. Algorithms interpret those early replies as genuine engagement signals. This pushes the video to significantly more local screens automatically. A simple thanks is always sufficient. Leaving comments sitting unanswered for days kills momentum permanently. Responding late signals inactivity to both viewers and the platform itself.
When short plumbing videos fail
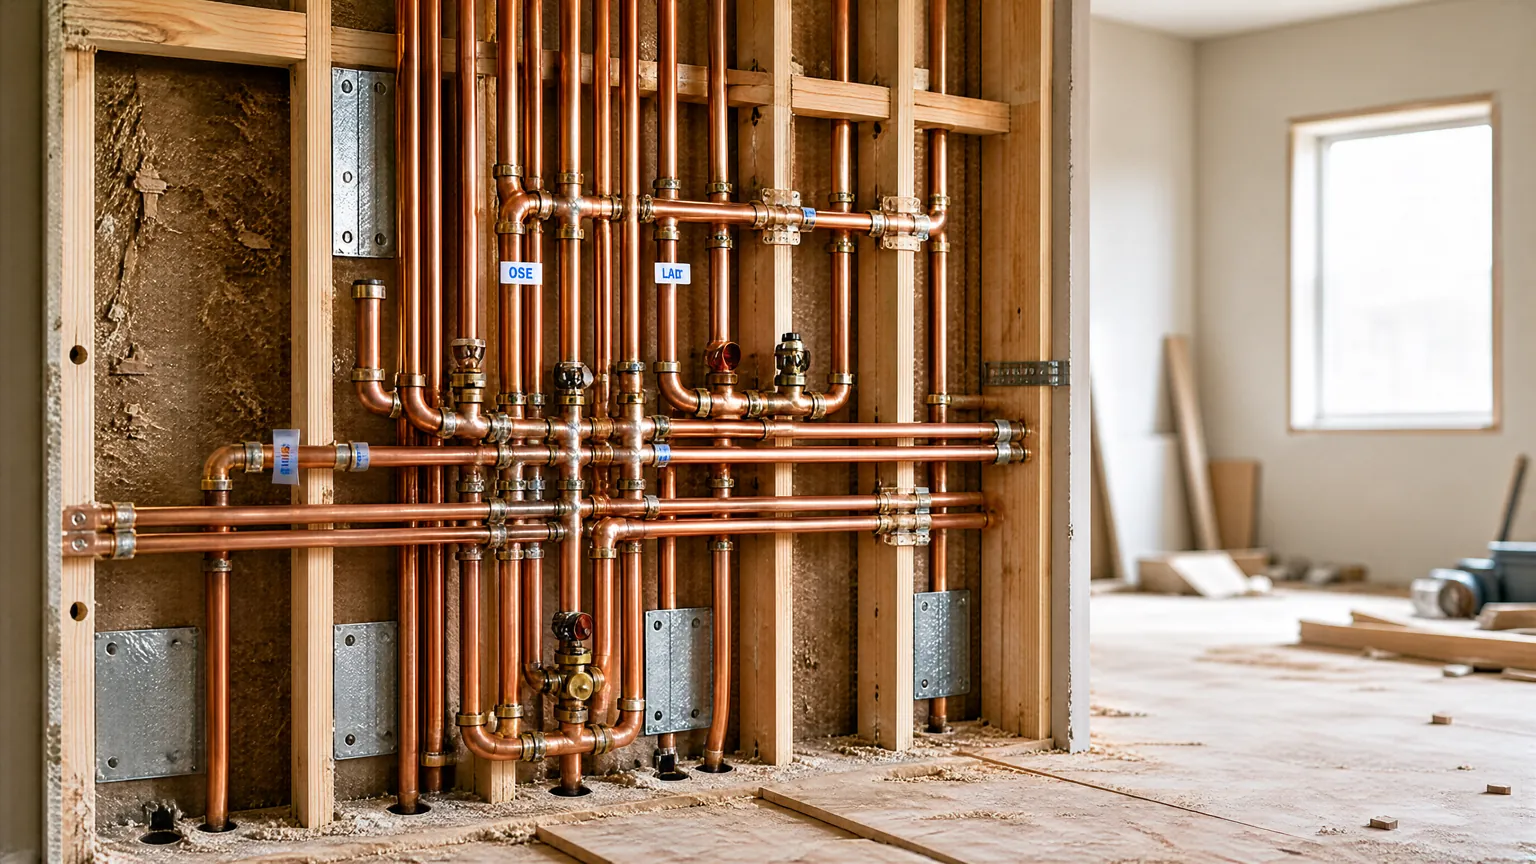
Short-form video isn’t the right tool for every situation. Knowing when to skip it saves you from looking unprofessional or wasting your afternoon.
If the job involves a complex, multi-hour repair like repiping a whole house, a 30-second clip will only confuse people. They won’t understand the scope. They might think you charge too much for so little visible work. For large projects, take still photos and write a longer post explaining the process. Link to a detailed page on your website instead.
When dealing with an angry customer or disastrous failure caused by bad work, keep the camera in your pocket. Mocking another contractor’s mistake makes you look cruel. Filming a stressed homeowner destroys trust instantly. People hire plumbers they feel safe with inside their homes. They avoid ones who might broadcast a flooded kitchen online.
This format also fails at teaching code compliance. Local building codes change by county and state. A quick video can’t cover necessary legal exceptions. Giving wrong code advice causes homeowners to fail inspections later. Leave code explanations to official municipal resources or detailed written guides.
Never use short video for active leak diagnostics either. Water damage spreads faster than you can narrate. Put down the phone and stop the water first. Documenting destruction while ignoring mitigation signals negligence to future clients watching your feed.
Frequently asked questions
Can I film plumbing videos without showing my face?
Yes, you absolutely can. Point the camera at your hands, the tools, and the pipes. Voiceovers work perfectly for this. Plenty of successful trade accounts never show the person holding the phone. Just make sure your hands are relatively clean and your voice is clear enough to understand over the sound of running water.
How often should a plumber post reels?
Aim for 2 to 3 times a week. Posting daily leads to burnout, especially when you’re working full shifts. Consistency matters more than volume. Pick days when you usually finish earlier, like Fridays, and schedule your uploads then. If you miss a week, just start again without apologizing for the gap.
Why aren’t my plumbing videos getting local views?
You probably forgot to add your location. Tag your city or neighborhood in the post settings before you publish. Also, avoid using trending audio from halfway across the world. Use sounds popular in your region, or just stick to your own voice. The platform uses these signals to decide who nearby should see your clip.
Is it safe to show customer homes in videos?
It’s only safe if you have their clear permission and remove identifying details. Never show the exterior of the house, the street sign, or family photos on the wall. If you can’t guarantee their privacy, film the parts in your truck or use stock footage of similar pipes to explain the concept instead.
What happens if I give wrong plumbing advice online?
You risk damaging someone’s property, and they could hold you responsible. Stick to basic maintenance tips like changing filters or tightening loose handles. Never advise on structural changes, gas lines, or main sewer connections. Always add a disclaimer telling viewers to check their local codes or hire a licensed professional for major repairs.
How long does it take to edit a plumbing video?
About 10 to 15 minutes per clip once you get used to the app’s tools. Trimming the ends, adding text, and laying down a voiceover are the only steps you really need. Don’t spend an hour adding flashy transitions. Homeowners care about the solution you’re showing, not the editing effects you used to present it.
Conclusion
Getting these clips out consistently takes less effort than driving to a networking event, and the results stay online indefinitely. You don’t need perfect lighting or a script. You just need to point your phone at the next leaking valve you fix, explain what went wrong in three sentences, and hit post before you start your truck.
